Devin Devine, Masonry contractor in Blakeslee PA
610-301-4269 contact devin@devineescapes.com
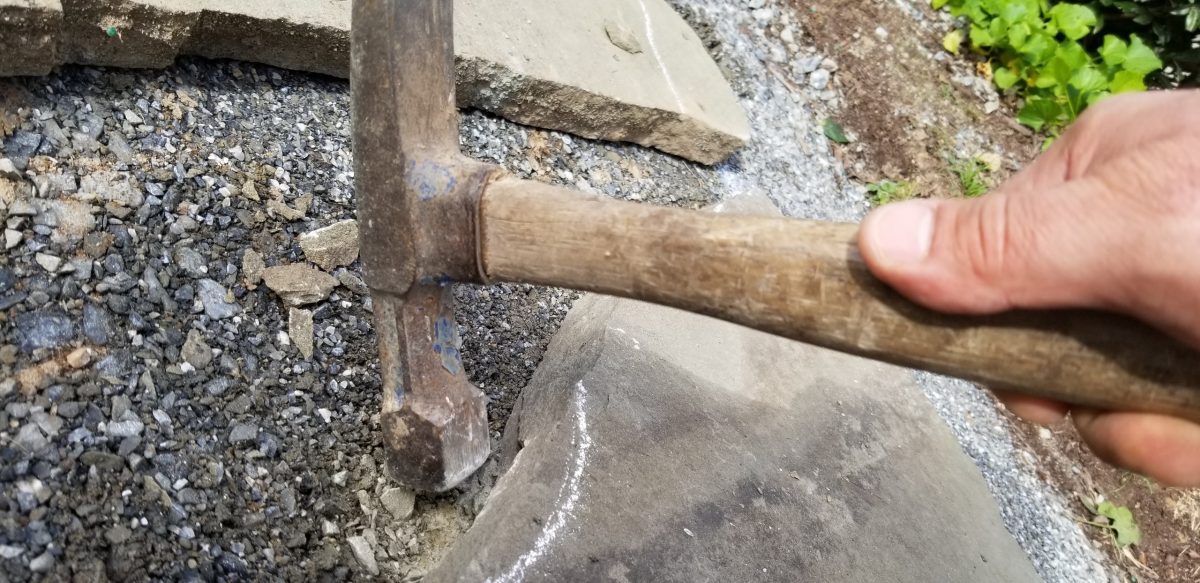
how to split a boulder (or slab) using feather and wedges
step 1: drill holes
- For this, I am using a hammer drill. I have no great brand loyalty here….but here’s the one I’ve been using for the past couple years. Holding up well, so far!
- Usually, I drill a pilot hole first, using a smaller sized drill bit (masonry SDS bits). This is a time saver–you first dill all the way through the stone, using a quarter inch sized drill bit or similar. Small sized drill bits go down faster.
- Make the hole wider by switching out your drill bit for whatever size it needs to be stepped up to. In this case–I stepped it up to a 5/8″ drill bit because that’s the size hole I needed. If I was splitting much larger boulders and needed to use a larger sized feather and wedge set up, then I may have gone for 1/4″ bit, to 1/2″ bit, to 1″ or however big it ultimately needed to be.
- Cooled and lubricated bits last longer. As such, I usually have a grout sponge sitting in a bucket filled with water next to me when drilling stone. As the bit goes down, I dip the sponge into the bucket and then dribble water onto the bit. This extends the life of the drill bit, makes the bit go down faster, and keeps the dust down too.
- The bandana around my neck is there in case of dust. Water being used keeps the dust down, but it’s not 100%, so it’s good to have some other sort of protection….you do not want to breath in stone dust. Many people will insist on using a proper respirator…to date, we’ve used fans to remove the dust, proper respirators with p100 cartridges on them. We’ve also done what I’m doing in the video:use water to eliminate dust, plus a dust mask or bandana just in case the water doesn’t catch all the dust.
Related: cutting flagstone with 9″ electric saw
Related: cutting flagstone using just a hammer
Step 2: insert feather and plugs aka feather and shims, feather and wedge, feather and plug
- You want your feathers and wedges to be set perpendicular to the cut line.
- Put the feathers in first, seating them all the way down into the hole.
- Next insert the plugs with a gentle tap to get them into place.
Step 3: drive wedges down in between the feathers
- Then, once all feathers and wedges are situated, you want to gently drive the plugs down. One or two taps per plug, then the next plug, then the next. Your goal is to drive the plugs down as evenly as possible.
- Usually, I use a 3 pound sledge hammer for this task.
- Harder denser stones tend to break easier, using this method.
- For softer stones that might not want to split, or for thicker stones, you may need to go even slower. Sometimes, I’ll drive my plugs down a third of the way–and then pause for a minute. Then drive them down more….then pause. In some cases, a softer or lager stone may not want to split, and may even split in a less predictable manner–this pausing helps.
- Other times, it can be helpful to score a line first. Take an angle grinder and just scratch the stone, like an 1/8″ deep, along the line where you want the cut to be. This method can help ensure that the cut comes out nice and straight. Usually, I’m only doing this for a less than completely cooperative stone type: usually, it’s just not necessary. Such scoring may also be done with a hammer and chisel.
Note, this technique comes in handy when building DRY STONE walls.
Tools needed for this type of stone splitting
- Hammer drill. You want an sds type hammer drill. Technically a regular carpenters hammer that has a “hammer drill setting” will work. Sort of.
- Feather and wedges (I prefer THESE feather and wedges, with the rubber band to keep them in place. Also, this type of feather and wedge lacks the awkward “ears” that other feather and wedge sets have. These ears just get bent up and have to be bent back into place often, eventually snapping off or getting so bent out of shape that they no longer function. As such, this new design is deemed more durable as well as being easier to use.
- Grout sponge. For dribbling water on your drill bit as it goes down.
- 5 gallon bucket. Not one from home depot–use an old spackle bucket, or the other contractors are going to laugh at you for having to buy a 5 gallon bucket. Cat litter buckets are also acceptable, as are re-used tar buckets. Lately I’ve been using stainless steel buckets. Less plastic in our lives.
- Ear protection. What did you say? I said ear protection! Cutting stone is cool and all, but music is important too.
- 3 pound mini sledge hammer.
If you find this content helpful or entertaining then please support this channel on ko-fi using this link: https://ko-fi.com/devindevine

DIY Hardscape Help
Phone Call Rates:
$138.00 for an hour long consultation.
$88.00 for a half-hour consultation.
These consultations can also be conducted via email.
Monies are payable via Zelle, PayPal, Venmo or check.
Just email me to let me know you have a question, tell me your phone number, and we can then arrange a time for me to call you. Usually, I can fit you in within a day or 2. Then, you go to paypal (zelle or venmo) and pay me, using my email which is:
devin@devineescapes.com
After payment is received, I will call you back at the appointed time. Since 2015 I have helped hundreds and hundreds of home owners with their DIY hardscape projects–and the response has been overwhelmingly positive. SO shoot me an email today and let’s get started!
Natural stone, only traditional stone masonry. Based out of the Poconos, we regularly do projects on the Main Line (Philly suburbs), West Chester New York, Delaware, occasionally California or Arkansas.
Devon PA | Chester Springs PA | Irvington NY | Yonkers NY | Westchester NY | Bryn Mawr PA | Paoli PA | Limerick, PA | Collegeville PA | San Francisco, CA | Arkansas
It’s a timeless and fun task, using feather and shims/plugs. What is the benefit though, of these new style feather/wedges, is it just easier to track them down and they don’t fall in the drill hole?
Yes, it’s easier to track them down and they don’t fall in the hole. But not only that, the feathers of the old style ones, they always get bent all up and eventually become useless due to being misshaped. Over a year after buying the new style plugs and the rubber bands are all still accounted for, every set is bound together, and all pieces shaped the way they were originally. Definitely more durable and easier to use and easier to find.
Nice article. Very informative and useful for a guy who’s trying to game plan for how to best deal with an impossibly large subterranean boulder, right where a fence post needs to go.
Cool. Feather and wedge may be an option…another option might be to use the 14″ cut-off saw. It makes 5″ deep cuts–you could make a series of cuts 1″ apart from each other and knock out the tabs. Alternatively, if the boulder is truly that massive….then maybe you can just anchor to it. A rebar, into the boulder and into the post perhaps, or one of those brackets that they use to attach deck posts to concrete sona forms, know what I mean?